Walkthrough 6-2: Debug a Mule application
In this walkthrough, you debug and step through the code in a Mule application. You will:
· Locate the port used by the Mule Debugger.
· Add a breakpoint, debug an application, and step through the code.
· Use the Mule Debugger to view event properties.
· Pass query parameters to a request and locate them in the Mule Debugger.
· Increase the request timeout for Advanced REST Client.
Starting file
If you did not complete the previous walkthrough, you can get a starting file here. This file is also located in the solutions folder of the student files ZIP located in the Course Resources.
Locate the port used by the Mule Debugger
1. Return to Anypoint Studio.
2. In the main menu bar, select Run > Debug Configurations.
3. Select apdev-examples in the left menu bar under Mule Applications; you should see that the apdev-examples project is selected to launch.
4. Select the Mule Debug tab; you should see the debugger port is set to 6666 for the project.
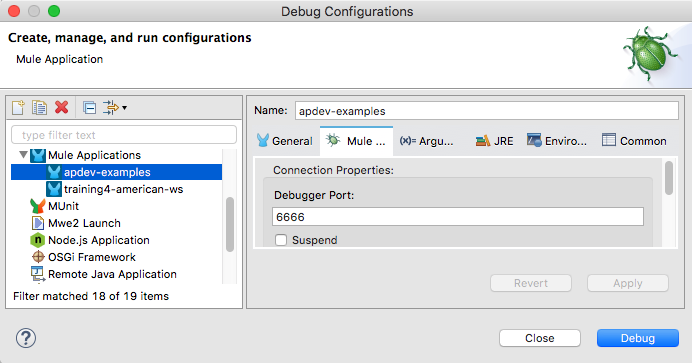
Note: If you know you have another program using port 6666 like McAfee on Windows, change this to a different value. Otherwise, you can test the Debugger first and come back and change the value here later if there is a conflict.
5. Click Close.
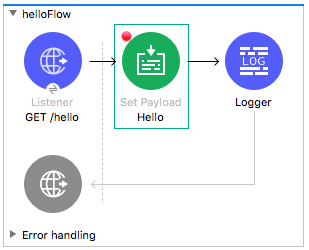
Add a breakpoint
6. Right-click the Set Payload component and select Toggle breakpoint.
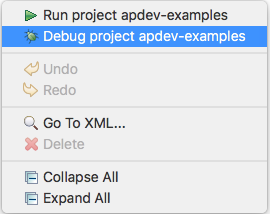
Debug the application
7. Right-click in the canvas and select Debug project apdev-examples.
Note: You can also select Run > Debug or click the Debug button in the main menu bar.
8. If you get a Confirm Perspective Switch dialog box, select Remember my decision and click Yes.
9. Look at the console and wait until the application starts.
10. In Advanced REST Client, make another request to http://localhost:8081/hello?fname=max&lname=mule.
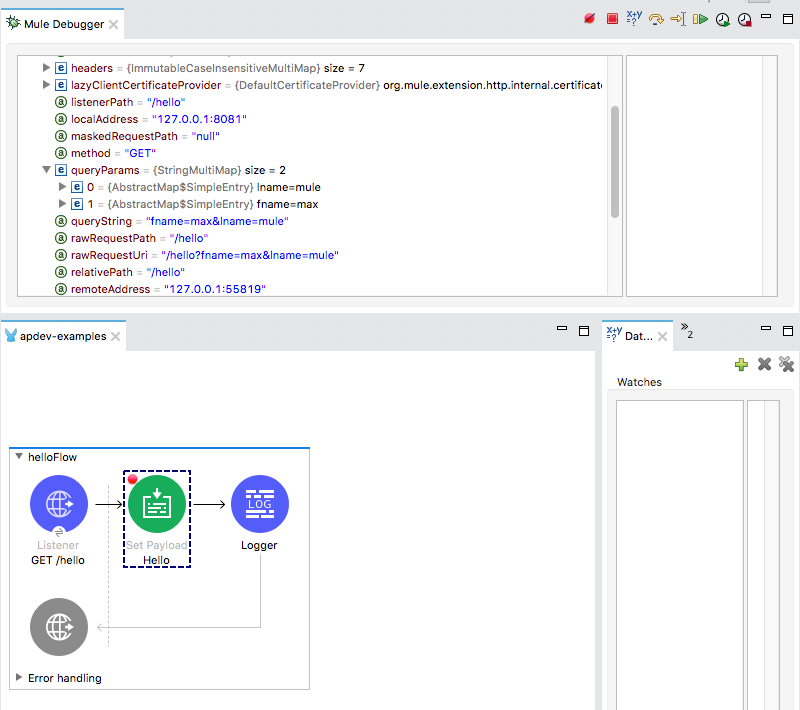
View event data in the Mule Debugger
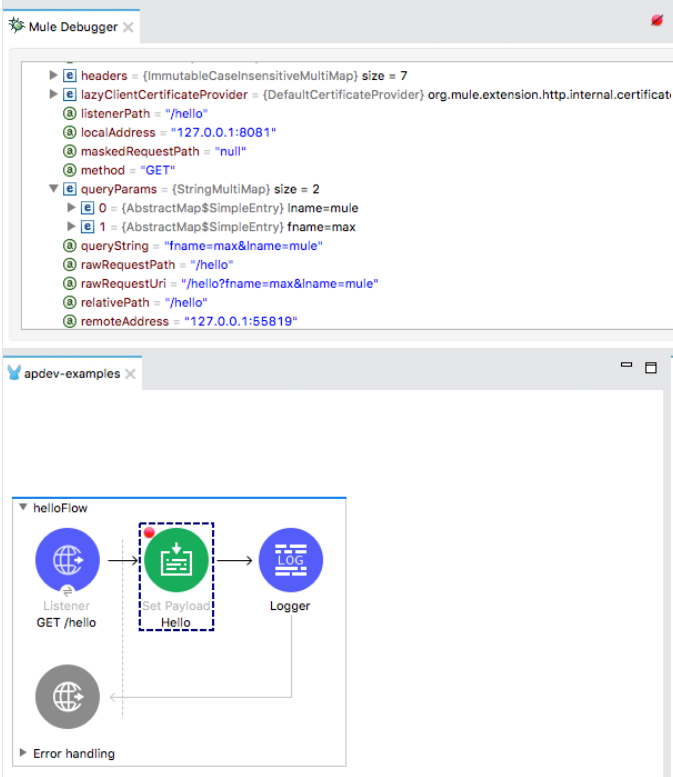
11. Return to Anypoint Studio and locate the Mule Debugger view.
12. Look at the value of the payload.
13. Expand Attributes and review the values.
14. Expand queryParams and review the values.
Step through the application
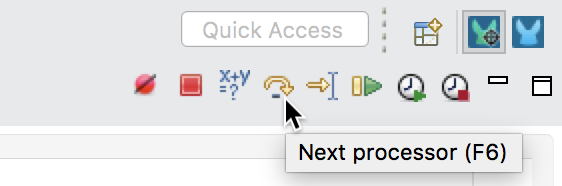
15. Click the Next processor button.
16. Look at the new value of the payload; it should be Hello.
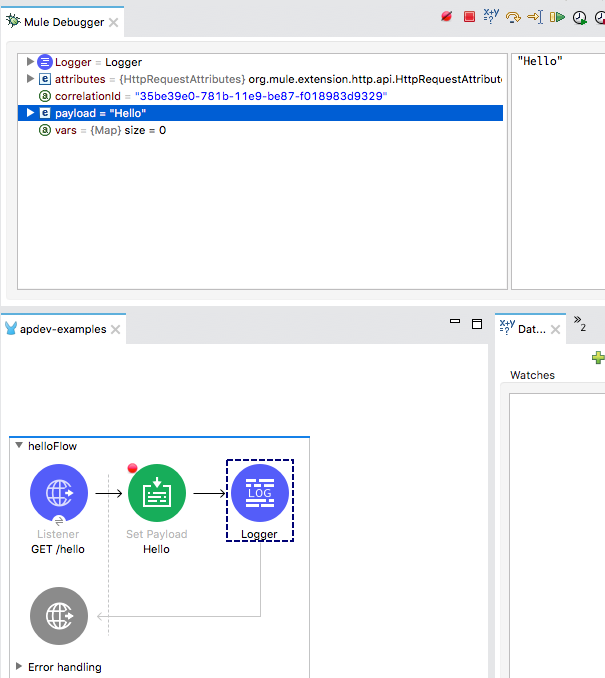
17. Expand Attributes and review the values.
18. Click the Next processor button again to finish stepping through the application.
Use Resume to step to the next breakpoint and then the end of the application
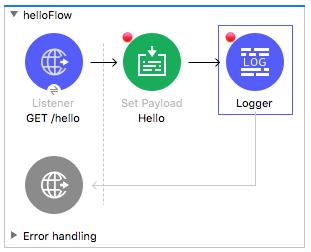
19. Add a breakpoint to the Logger.
20. In Advanced REST Client, make another request to http://localhost:8081/hello?fname=max&lname=mule.
21. In the Mule Debugger, click the Resume button; you should step to the Logger.
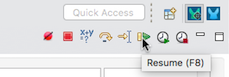
22. Click the Resume button again; you should step through the rest of the application.
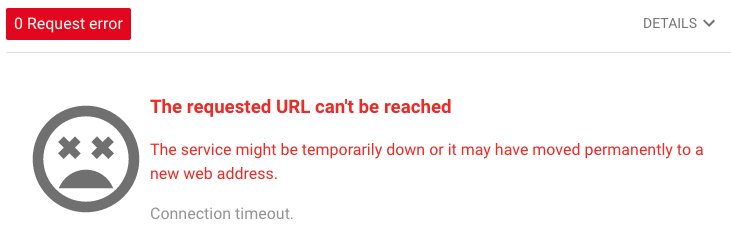
Cause the HTTP request to timeout
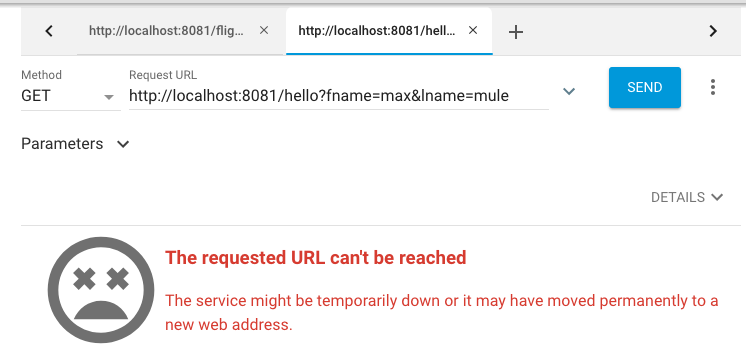
23. In Advanced REST Client, make another request to http://localhost:8081/hello?fname=max&lname=mule.
24. Do not step through the application and wait (45 seconds) for the request to timeout.
Increase the request timeout for Advanced REST Client
25. In the Advanced REST Client main menu, select File then Settings to navigate to the application settings.
Note: Depending on your platform, accessing the application settings may differ such as AdvancedRestClient then Preferences.
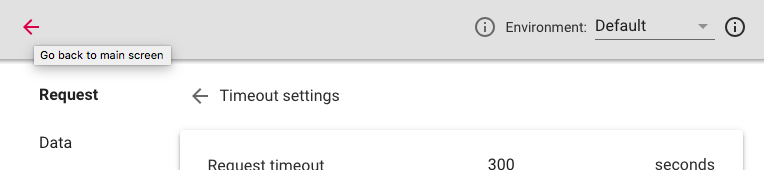
26. In the application settings, locate the Request timeout setting and click the arrow next to it.
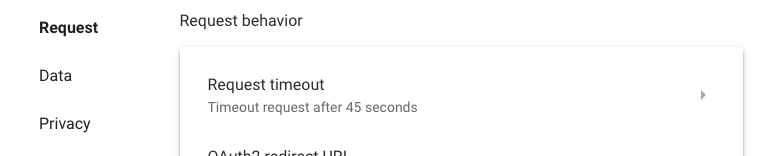
27. Change the request timeout to 300 seconds.
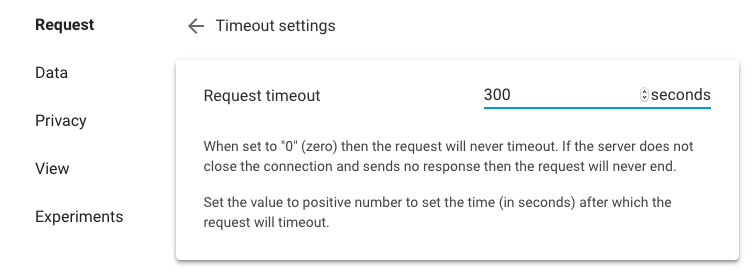
28. Click the Go back to main screen button in the upper-left corner.
29. In the main screen, verify the tab with your last failed request is selected.
Switch perspectives
30. Return to Anypoint Studio.
31. Click the Resume button twice to finish stepping through the application.
32. Click the Mule Design button in the upper-right corner of Anypoint Studio to switch perspectives.
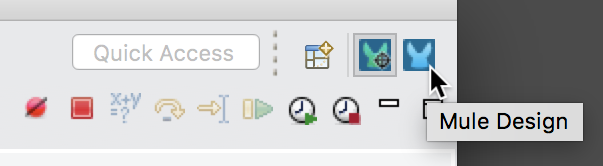
Note: In Eclipse, a perspective is a specific arrangement of views in specific locations. You can rearrange the perspective by dragging and dropping tabs and views to different locations. Use the Window menu in the main menu bar to save and reset perspectives.
33. Leave the project running.